Thursday, July 30, 2015

Peacock Birthday Party

This beautiful young lady is obsessed with peacocks so we had a glittery, feathery peacock birthday party last year.
 
 Chalkboard art for the party...
 
Invites:  D helped me stamp peacock feathers on a set of packaged cards.
 
I went to town with tableware and decorations in blues, greens, purples and gold.
 
Peacock blue Hawaiian Punch.
 
Even the veggies looked like a feathered friend.


Party games: Pin the Feather on the Peacock.  My talented mother whipped this up last minute for D's party.  Incredible!


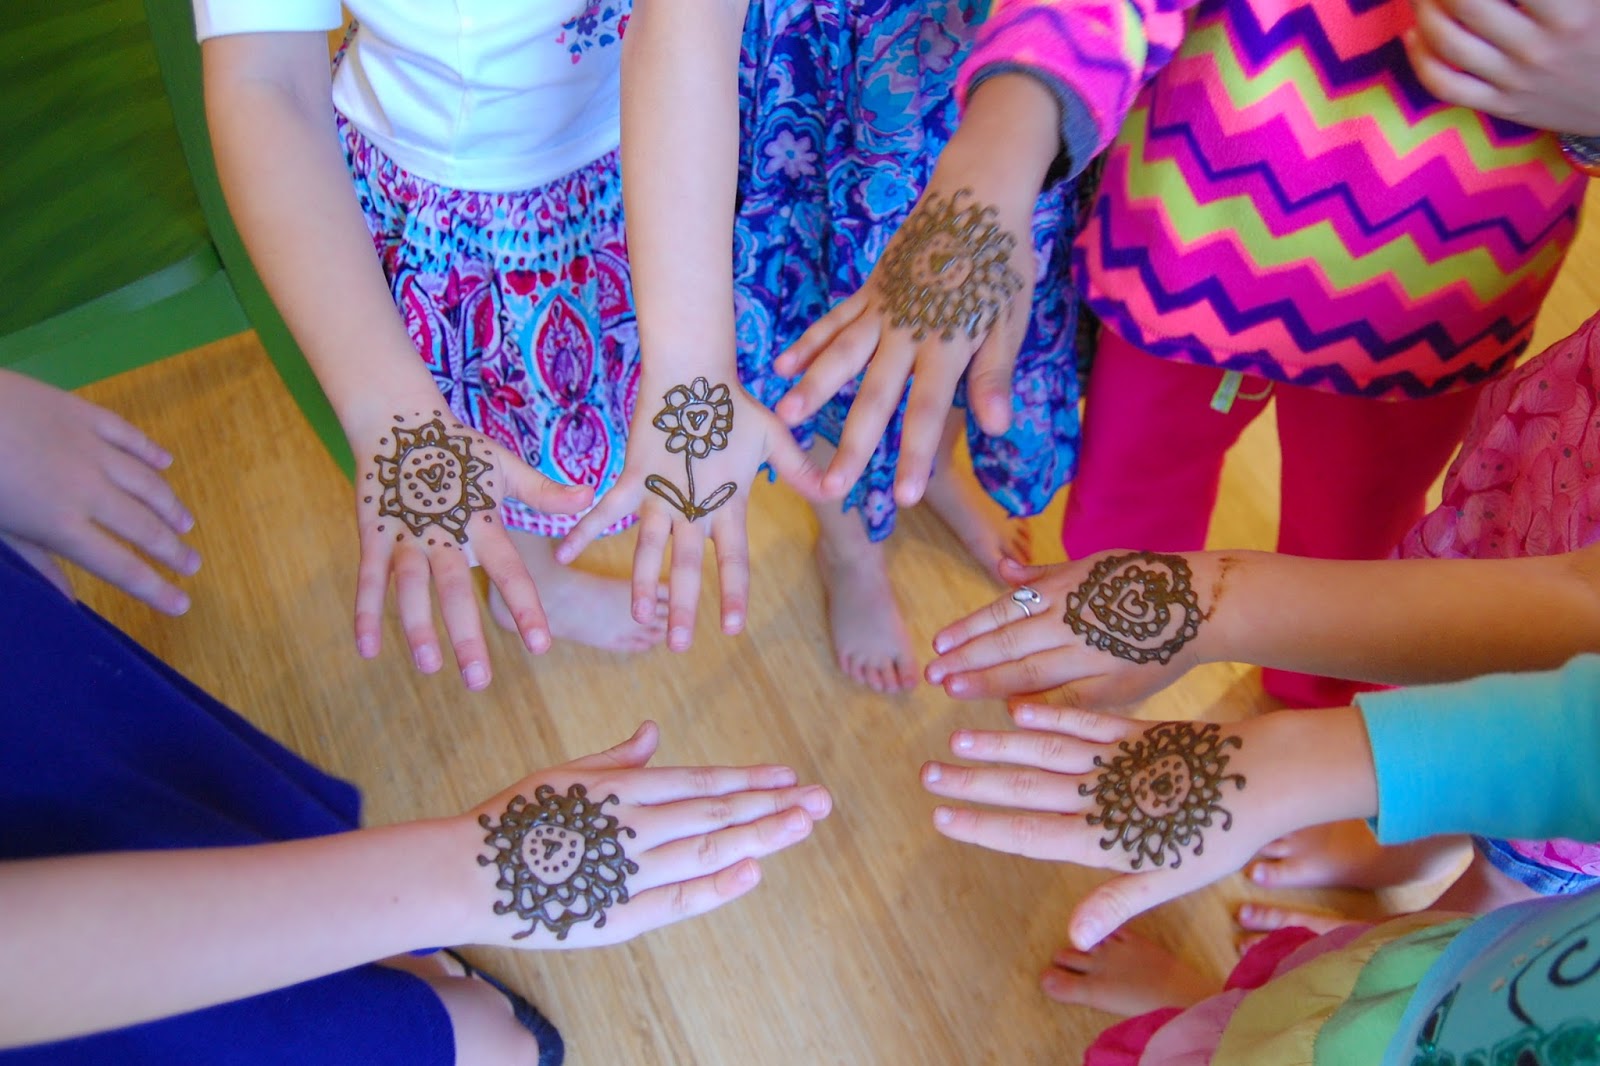
D asked me to do a little mehndi as a party activity.  Probably not the best idea for this age group (six and seven year olds) as it was hard to stay still while the henna dried.  The girls all loved it, though, especially planning out their personal designs.
 
Take aways:  Peacock pails
 
Hand stamped M&M packs
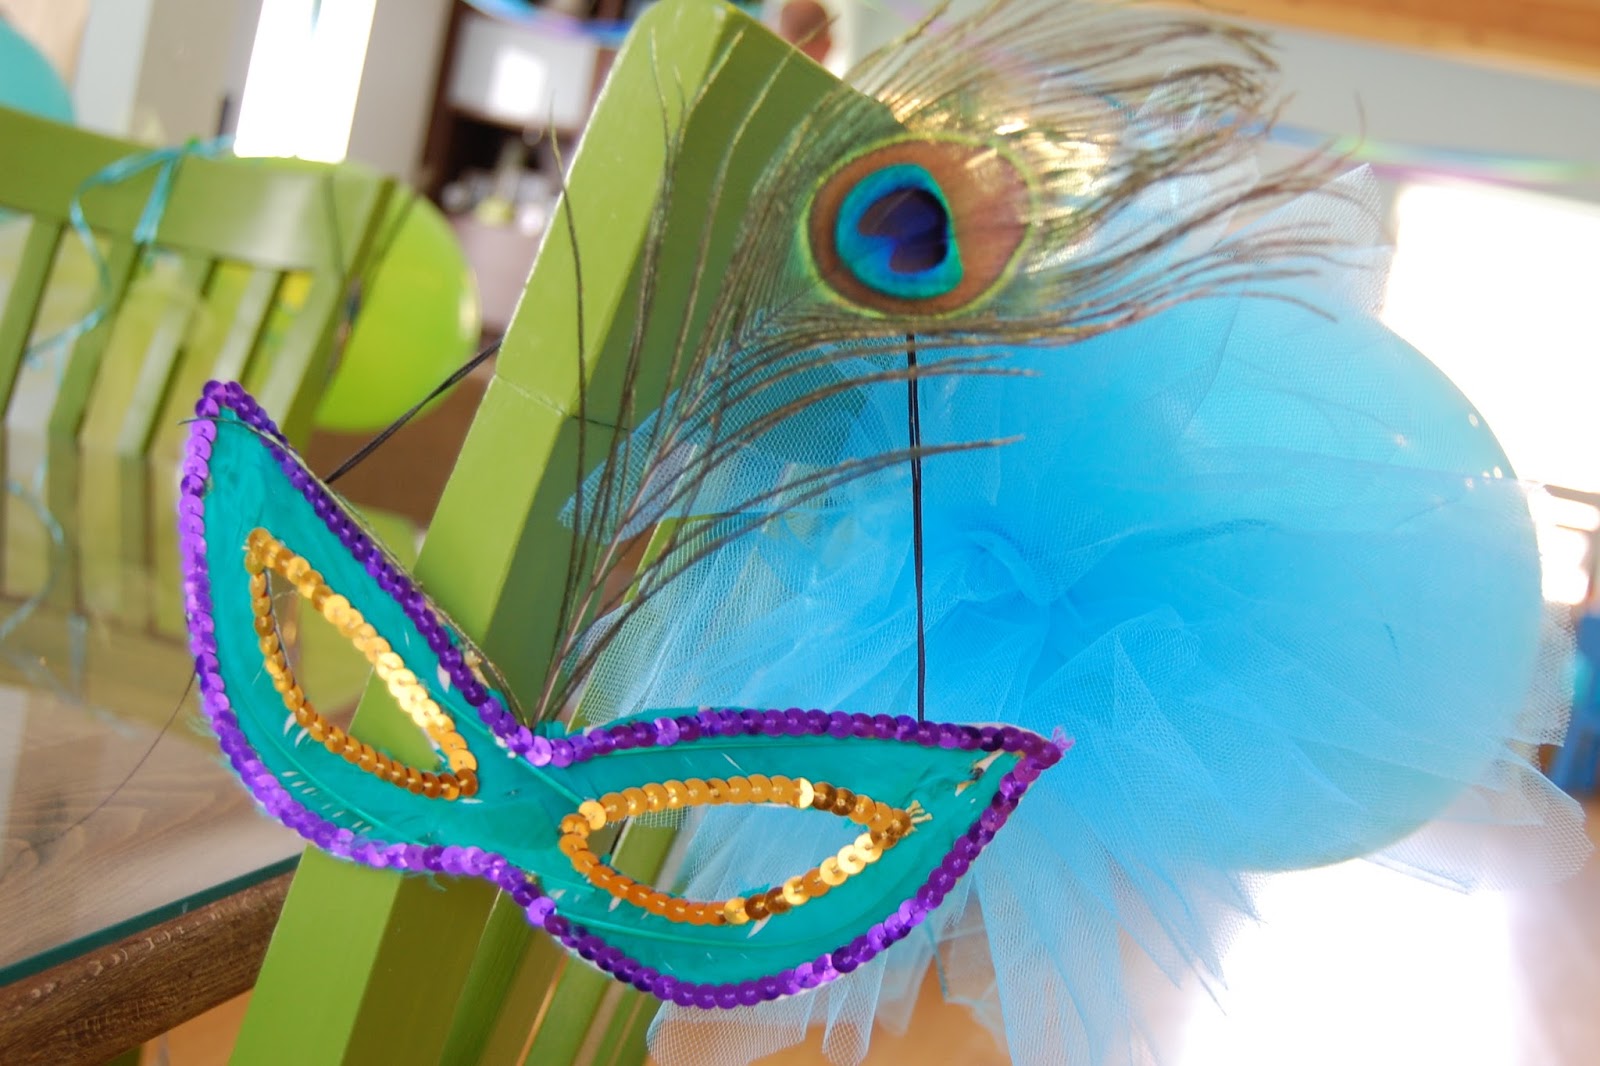
 
 
and peacock masks!
 
Pretty peacock girls!
 
Sources:
 
Blue edged packaged cards: Michael's
Feather stamp, glitter "feather" picks: Hobby Lobby
Most paper tableware, BonBon nail polish: Walmart
Mehndi cones:  I got mine while we were in India last year.  You can find similar ones at Amazon like these
Gold cups, teal buckets, crayon pens, glitter notebooks, Mardi Gras masks: Oriental Trading
Special color M&Ms: Fuzziwig's Candy Factory
 

Friday, October 31, 2014

Halloween Treats

Happy Halloween Folks!

The kids always get plenty of sweets tonight so I like to give out something without sugar to their classmates.  This year we did glow sticks!  D helped me design these cute cards, then colored them in by herself. The font is MTF Sweet Halloween Dings.  Her fonts are the cutest!

My crafty girl cut them all out and punched them, too.

Then we attached them to the glow sticks.

I's chalkboard style cards for this year.

Sunday, October 26, 2014

Woodland Tooth Fairy Pillow

D came home with a missing tooth recently!  I was planning on whipping up her tooth fairy pillow when her first tooth got loose, so I was a bit unprepared by her sudden lost tooth.  Thankfully the Tooth Fairy held off visiting D until I was able to get around to making her pillow.  Here's how it turned out.
I had been saving this fabric for something fun.  A tooth fairy pillow fits the bill, don't you think?  The small pocket in the front is for her tooth...

A little simple embroidery for her name...

A larger pocket on the back side so the Tooth Fairy can leave her receipt...

Now we are ready for the rest of her teeth to come out!

Saturday, September 13, 2014

Monster Truck Birthday Party

This little boy loves monster trucks!  So we had to do a monster truck party for his fourth birthday!
 
The timing for this party was really crazy for our family, so I didn't get in all the details that I had hoped, but things mostly came together pretty well.
Invites:
 
Food and decorations:  I kept the food super simple, and since M is my pickiest eater there weren't any special requests for his party.  We ordered pizza and served pretzels, goldfish, fruit and orange punch.  The decorations were mostly steamers, curling ribbon, and balloons in black, white, silver, and orange.


The monster truck tire cake!  I blatantly copied this from something found on Pinterest.  I had never worked with fondant before, so the result was pretty good considering.  I was a little disappointed how little it looked like the "inspiration" photo, but M loved it and the kids all ate it so all was good.


D made this amazing drawing for her little brother to hang up for the party!  The monster truck is delivering the birthday cake.  She let M help her color and paint it, too.  What a great big sister!

For the table I let the kids "paint" a big piece of butcher paper with some of M's monster trucks to make "tire track art."

Party favors:  Everyone got a trucker hat on the way in and a goody bag on the way out.

Bags included fun packs of crayons, a bouncy ball, stickers and bubbles.  I meant to print out coloring sheets to put in with the crayons, but they never quite made it.  I ended up sticking them in the thank you notes.

I ordered mini monster truck pins to put on the hats.  I also bought fabric markers and was planning to have the kids decorate their own hats, but we never got to it.

Games:  Rocket balloons and an obstacle course that involved maneuvering in these tire inflatables and monster truck bowling.  M requested pin-the-bumper-on-the-monster-truck, but I couldn't make that happen either.  Ugh!  We played it just the two of us the other day to make up for it. 

A special day and a special party for a special boy!
 
 
Sources:

All ideas came from pinterest, none original to me and too many to credit.

Striped gift bags: Layer Cake Shop
Trucker Hats: Capwholesalers.com
Mini Pins: Distinct Designs Unlimited (on Etsy)
Tire Inflatables: Walmart
Cups, plates, etc: Walmart
Monster Truck Stickers, bouncy balls, bubbles: Walmart
Crayon Packs: Target
Checker flag streamers: Hobby Lobby

Saturday, August 2, 2014

Paint Chip Wall Art

Our entryway gets a lot of intense afternoon sun and the artwork I hung up here eight years ago is super faded.  I suddenly decided I needed something cheap, easy, and fast to replace my faded print- enter paint chip wall art.
 
I did have to purchase the frame- you can't go wrong with IKEA (unless you are trying to replace kitchen cabinet hinges, but that is another story!)

Why do I have hundreds of paint chips in a shoe box?  Doesn't everyone?  Mysteries if the universe.  I had plenty of samples on hand to fill my fairly large frame.  Most of them came from when I was trying to pick a new front door color, so the colors work well in the entryway.
A paper cutter makes quick work of turning the paint chips into parallelograms-  a lot of them.  I just used a glue stick to glue them to the paper that came with the frame.
 
Insert into frame.  Done.  Not as easy as just framing a poster, but pretty easy.  I was not very precise while cutting my shapes out and the end product is more sloppy than I hoped.  Not bad from far away, but up close I want it to look cleaner.  I might redo this project... someday.  Also, I hung it on the nail from the previous artwork and I think it needs to be moved, but for now it will live here just fine.

Tuesday, July 8, 2014

Mendhi Style Name Sign

I finally finished A's sign to hang over the crib- yeah! It was not a total disaster!  Although I think of myself as pretty crafty, I'm not much of an artist and I'd usually consider something like this beyond my abilities.  I'm so proud of how it turned out.
 
I bought a wooden sign from Hobby Lobby and painted over the existing artwork with dark brown craft paint.  Next I sketched out the letters with a pencil and then drew over the pencil marks with a white paint pen (extra fine point).  I free handed the mendhi "extras" and the interior of the letters.  My mistakes ( and there were a lot) I had to paint over with brown and then I tried again with the paint pen.  A little painstaking, but I like the results!


I mostly used books to practice drawing mendhi (or mehndi, or henna, etc) style designs.  I haven't tried anything with actual henna on the skin, but hopefully that's my next step.  I hope my girls let me practice on them!

This book was great in that it started out really simple, then worked up to recreating designs.  The left page is the example and the right side is my attempt to copy it.

The sign is hanging over her crib with the gold foil India silhouette I bought and a piece of the elephant fabric that I love.


I am ready for my little girl to come home!  We've had a set back with our travel plans, but are still hoping we will be traveling soon and A will be sleeping in this crib before long!


Related Posts Plugin for WordPress, Blogger...